BEFORE THE DETAILS
- Start with the conversation you want to have, then choose print that supports it.
- Base dimensions on the event manual and the actual stand template.
- Include sorting, packing and a clear contents list in the delivery plan.
1. Turn the event goal into jobs for your print materials
First decide whether you want to introduce the company, present a new product, meet distributors or receive initial enquiries. Each objective calls for a different conversation. A product stand needs to explain the product’s use, while a service business may need work examples and a clear next step. Do not print a large catalogue simply because catalogues are common at exhibitions.
Write a short visitor sequence: what catches their attention, what question the team opens with and what information they need after the conversation. Use the backdrop for recognition, tabletop materials for explanation and the takeaway item for recall and contact. If an item has no clear role, reconsider it before adding it to the order.
2. Arrange content for the viewing distance
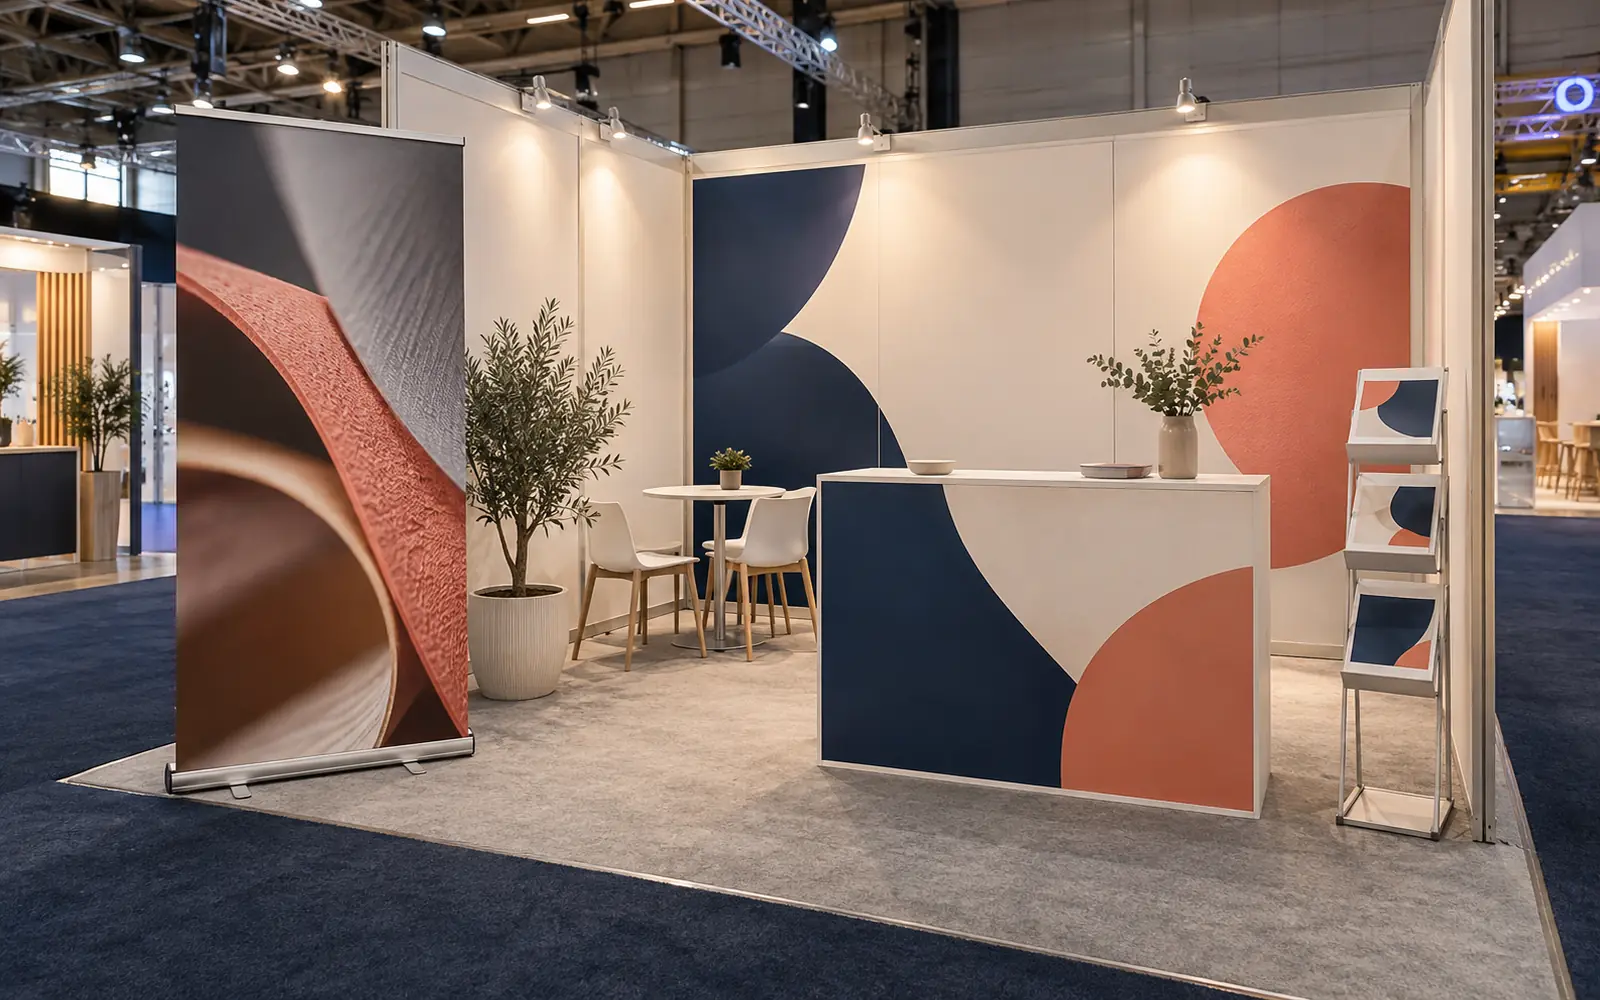
What visitors read from an aisle differs from what they read in their hands. Give the backdrop the company name and one short main message, then move detail to a close-view item or digital page. Review staff, counter and screen positions on the plan; they may cover the area containing your key statement or contact information.
Plan for the audience’s languages and the translation layout from the start. Give Arabic and English enough space in bilingual pieces rather than shrinking both until they are difficult to read. Check that product names, dimensions and terminology agree across the backdrop, brochure and presentation used by staff.
| Item | Purpose | What to check |
|---|---|---|
| Backdrop or stand panel | Identify the business from the aisle | Size, obstructions and headline visibility |
| Display stand or product card | Explain a point during a conversation | Stability, position and content |
| Short brochure | Information visitors can take away | Text, folding and contact details |
| Follow-up card | Make the next step easy | Contact person, link or contact method |
3. Confirm stand requirements before final artwork
Obtain the stand plan and artwork template from the responsible supplier, identifying the visible print area, joints and parts concealed by the frame. Ask about open sides, display heights, permitted fixing methods and any material, safety or electrical requirements. Do not take dimensions from a photograph of a similar stand.
If your event is at the Oman Convention & Exhibition Centre, its official Events Toolkit links to exhibitor services, shell-scheme graphics and venue plans. Use it as a starting point, then check your specific event manual and organiser’s instructions because ordering, access and installation details can differ between events.
4. Estimate quantities and work backwards from use
Base quantity on event days, the visitors you expect to speak with and whether the item goes to everyone or only after a relevant conversation. Separate visitor handouts from staff copies, samples and replenishment stock. If you lack previous data, record your assumptions and discuss a possible additional batch instead of committing to a large quantity without a distribution plan.
Start with when the materials must be ready on the stand, then allow for transport, access and setup. Agree artwork review, proof, production and packing dates with the print provider. The meaningful approval deadline is the one that allows those stages to happen, not merely the exhibition opening date.
- One contact who approves text, design and dimensions.
- An exact delivery address, recipient and contact number.
- Confirmation of site-access time and whether fitting is included.
- A plan for storing extra stock and replenishing handouts.
5. Check delivery and learn for the next event
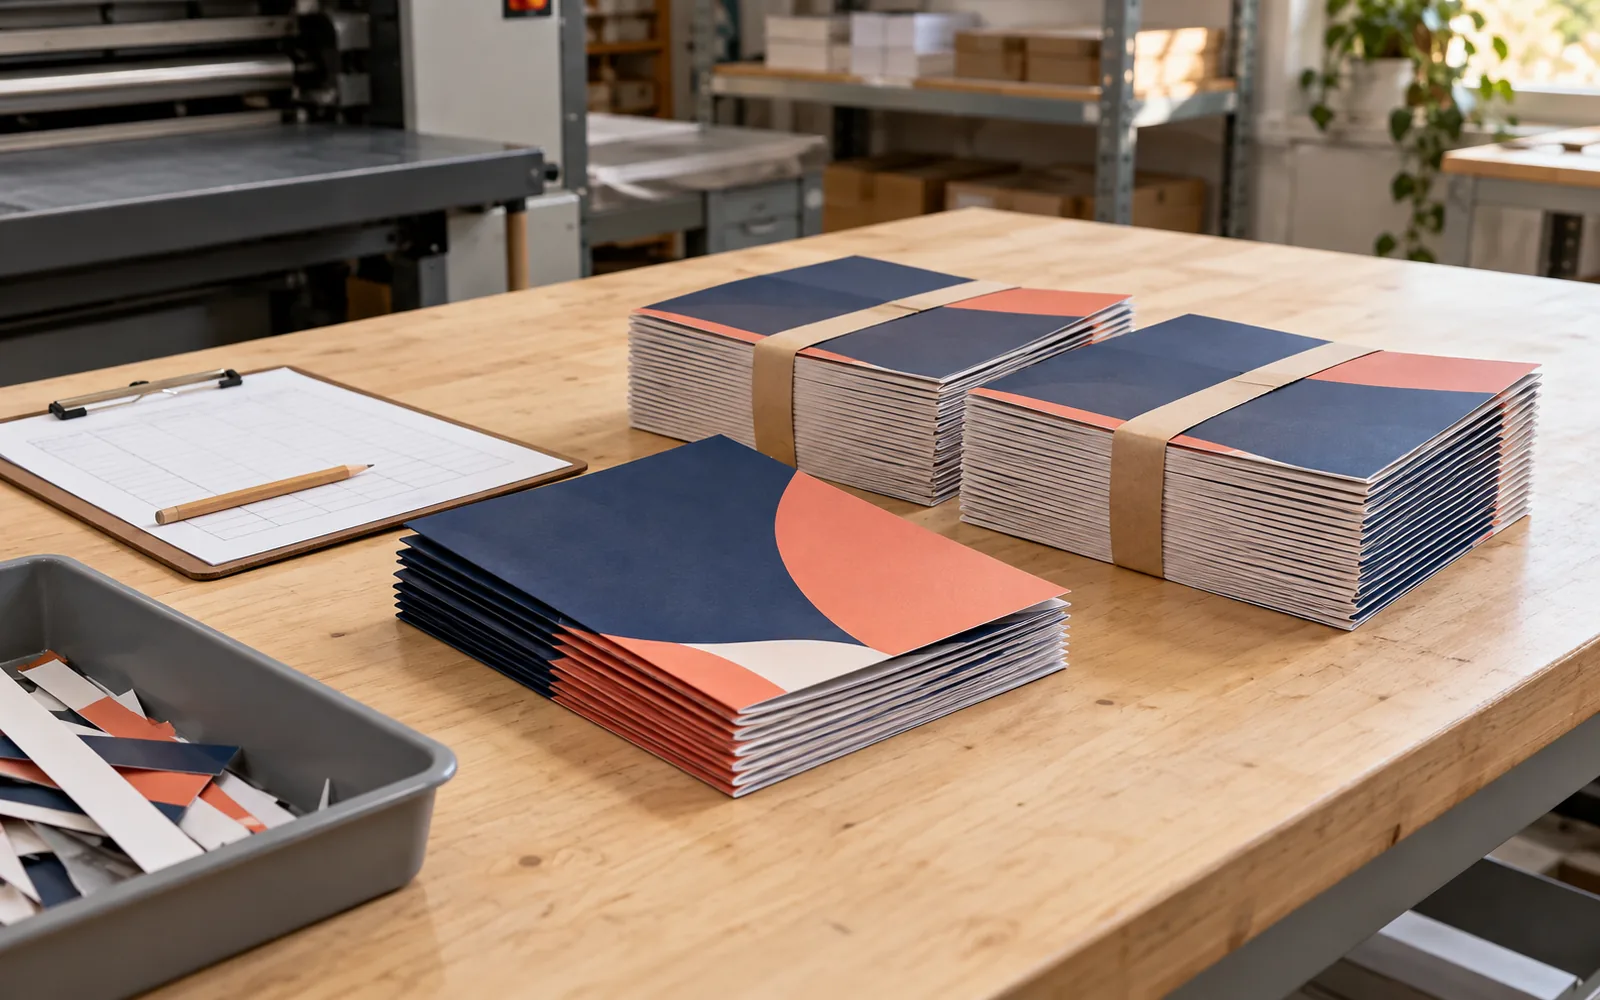
Ask for boxes sorted by item or use location with a quantity list, and keep approved files with the stand coordinator. Unpack and inspect as early as possible: language accuracy, folding direction, fit with the frame and working links. A trial assembly of modular pieces can expose issues that are difficult to fix during busy setup.
After the event, record what ran out, what remained, repeated questions and information visitors could not find. Separate items handed out from relevant conversations and actual follow-up requests. Keep suitable reusable pieces and update changing information before the next event. This review grounds your next print decision in the team’s own experience.
Common questions
What is the smallest print set for a small stand?
Start with clear business identification, a way to explain the offer and a takeaway or link for follow-up. One item may serve more than one purpose if it stays clear.
Can display stands be reused at several events?
That can work if the material, condition, size and content remain suitable. Separate changing information such as dates from the permanent design and check compatibility with the next venue.
How do I get a comparable quote?
Send the item list, dimensions, quantities, materials or intended uses, required date and delivery location. Ask the quote to clarify design, finishing, packing and fitting where included.
Sources and further reading
YOUR NEXT STEP
Turn the details into a clear brief.
Send the event name and date, stand plan and required print list so we can review sizes, quantities and production scope.