BEFORE THE DETAILS
- Approve garment fabric, colour and sizes before fixing logo dimensions.
- Test the smallest artwork details on a garment from the actual order.
- Provide care instructions tied to the approved garment and transfer.
1. Start with the garment and its use
Garment DTF prints artwork onto film and transfers it to textile through an adhesive-and-heat system. Roland DG explains the white layer behind the colours and the ability to work on light and dark fabrics, while recommending material testing. Those capabilities do not mean every fabric or surface finish will produce the same result.
Record fibre composition from the supplier label, the product code, colour, garment cut and sizes. Include photographs of the front, back and sleeve, and identify pockets, zips or textured fabric. “Black shirt” is not a sufficiently repeatable specification when a later batch might come from another supplier.
Next describe the real use: greeting visitors, everyday work, a single event or a gift. Ask wearers where the artwork should sit and whether an apron or jacket will cover it. Every garment does not need the same logo size; its visibility should serve the agreed appearance and movement.
Also record who supplies the garments, how they will be sorted by colour and size, and who approves the sample. Give visually similar products separate identifiers. That prevents approval for one fabric from being carried over to another that only looks similar in a photograph, especially when replacing an unavailable garment.
2. Test placement at actual size
Prepare front and back views showing print width, height and the measuring reference used to repeat placement. Make that reference explicit, such as the garment centreline or a defined point on the neckline. A position that looks balanced in a flat photograph can change when worn, so review it on an actual garment.
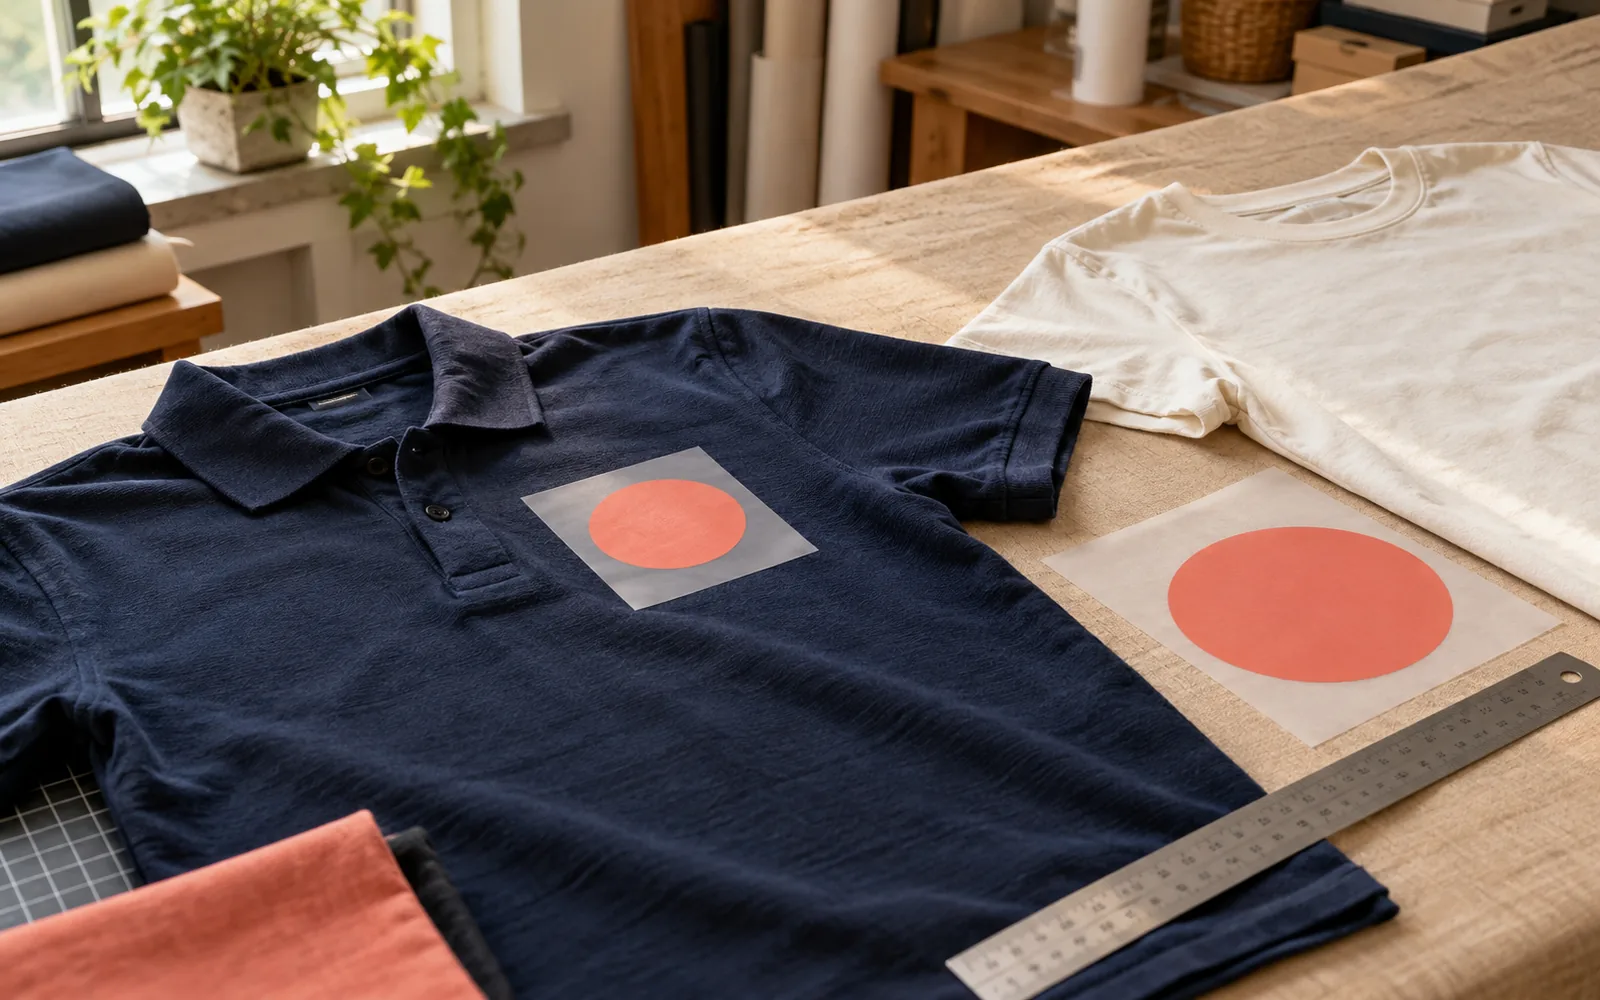
Print a paper mock-up at the proposed size and position it on the smallest and largest garments in the order. Check clearance from pockets, collars and seams, then try a smaller alternative if the logo feels unbalanced. Transfer Express notes that buttons, zips and pockets affect the pressing surface; the specialist should review these obstacles before confirming placement.
Inspect Arabic dots, letter counters and small text at final size rather than at screen magnification. Identify areas that should remain transparent instead of becoming a printed rectangle around the logo. Separate the visual decision from technical white-layer preparation: production should configure it for the chosen transfer and submit the result for review.
3. Give the sample specific questions to answer
Request a sample on the actual product and colour, including the complete logo and its smallest text. Record the sample identifier, artwork revision and placement, and photograph it under consistent light. Review white coverage, colours and edges, then feel the print and gently flex the fabric as in normal wear to assess acceptable hand feel, without treating this as an aggressive stretch test.
Agree a care-check procedure with the producer using the product instructions, and review the appearance after testing before approving the remaining quantity. If a light area changes colour or an edge lifts, record the issue and request an explanation and corrected sample. Do not assume that more heat or time is the answer; causes and remedies differ between systems.
| Check | Record | Approval decision |
|---|---|---|
| Fabric and colour | Actual product and fibre label | Match the order |
| Placement and size | Artwork dimensions and positioning reference | Suitable when worn |
| Detail and hand feel | Close-up image and clear observations | Accepted on the sample |
| Care | Instructions and agreed check result | Approved before repeating |
4. A planning example for a café team in Muscat
Suppose a Muscat café is preparing navy shirts for its front-of-house team and pale aprons for its preparation team. Start with two placement briefs instead of applying one logo layout to everything. Check whether the chest logo remains visible above the apron, and choose another position when the outer garment is what visitors will actually see.
Prepare one shirt sample and one apron sample; approval of either does not automatically approve the other. Review the Arabic and English names and tie each approval to its garment type and colour. If one size needs smaller artwork, record it as a defined variant so a sensible trial decision does not become an unexplained batch inconsistency.
Before sorting the garments for delivery, use a list linking product, size and approved artwork revision instead of relying on memory. A care card can accompany each team set. This hypothetical example controls what was approved; it does not describe a completed project or assume one technique suits every uniform item.
5. Hand over care instructions with the specification
Care instructions are not a universal setting for all DTF prints. STAHLS publishes washing and drying guidance for its specific product, but copying it to another product without verification is inappropriate. Request written guidance for the garment and transfer together, covering washing, drying, ironing, restrictions and any supplier-specified wait before the first wash.
Keep the approved sample, its photograph, the artwork revision and the placement approval alongside the quantity-and-size schedule. For a repeat order, confirm that the garment and transfer products are unchanged before relying on “same as last time”. This package makes expectations understandable and reviewable; it does not replace production checks or promise a universal wash count or service life.
Common questions
Will DTF work on any customer-supplied shirt?
Review the fabric label, finish and construction, then test a suitable garment from the order. The fibre name alone cannot confirm compatibility or the finished appearance.
Does every garment size need a different logo size?
Not necessarily. Compare the smallest and largest garments with the actual-size mock-up, then approve one shared size or defined variants if balance and placement differ materially.
Does this guide specify a pressing temperature?
No. Temperature, pressure, time and film removal come from the approved system and product instructions and are controlled by a specialist. This guide prepares design, sample and care decisions.
Sources and further reading
YOUR NEXT STEP
Turn the details into a clear brief.
Send the garment photo, fibre label, colour, required sizes and logo placement so we can review suitability and feasibility before quantity approval.